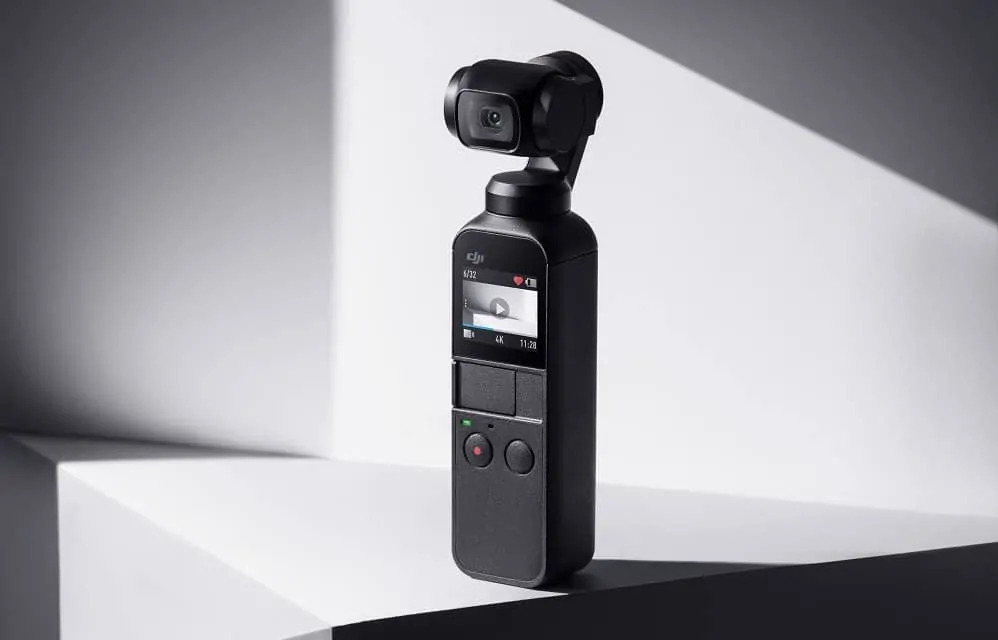
Osmo Pocket is not only a perfect photo-taking device during the day, but it also supports recording the ability to capture great photos at night. Surely you will feel excited when watching some photos taken at night with NightShot mode on device below.
In this article, I will guide you five ways to turn the night photo into magic with NightShot mode of Osmo Pocket.
Config
To be able to take photos in exposure mode, you need to transfer Osmo Pocket to Pro mode, which allows you to adjust advanced camera settings. With the latest firmware update, device does not need to connect to mobile devices to enter Pro mode. Start from the main screen, swipe down once, then three times to the left. Next, click the Pro icon to activate the Pro model. When a small yellow Pro icon appears in the upper left corner of the device screen, the activation process was successful. The next step is to enter the exposure menu to select the lowest ISO value and set the shutter speed as slow as possible (at least two seconds).
The slower the shutter speed, the more light the lens will get. Note that you should use ND filters to avoid too bright images.
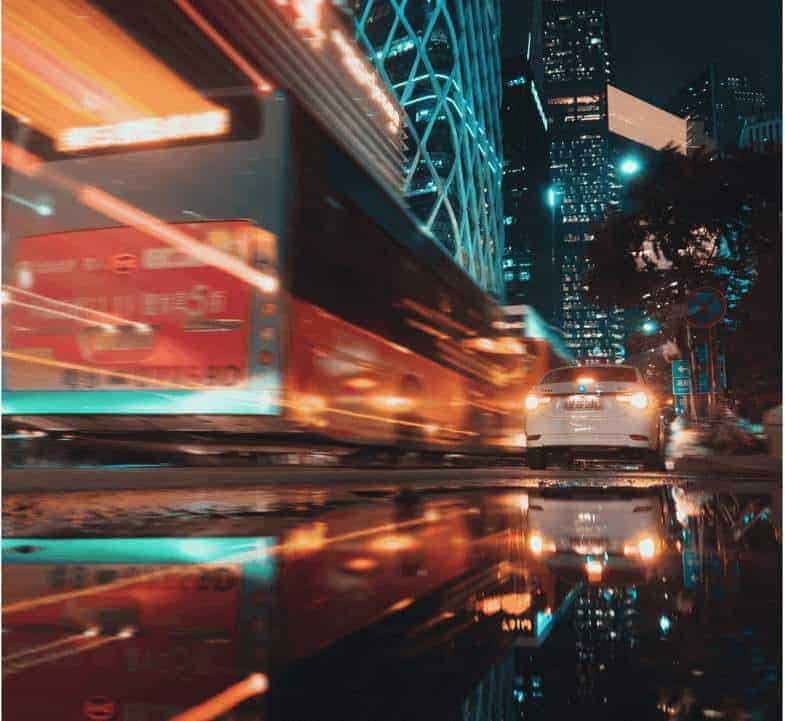
1. Traffic at night
At night, find a convenient location by the side of the road and take some photos of exposure while driving through. The results will be impressive!
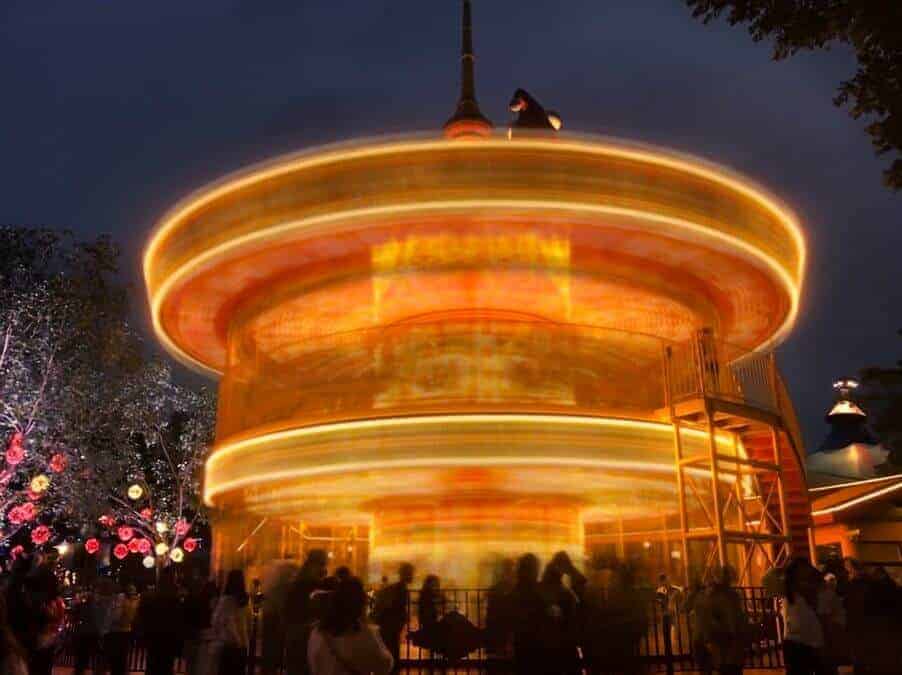
2. Circle of Light
When the sun goes down, visit the theme park to find different transport facilities equipped with decorative lighting. For example, here, I took a spinning conveyor belt, looking magical, right!
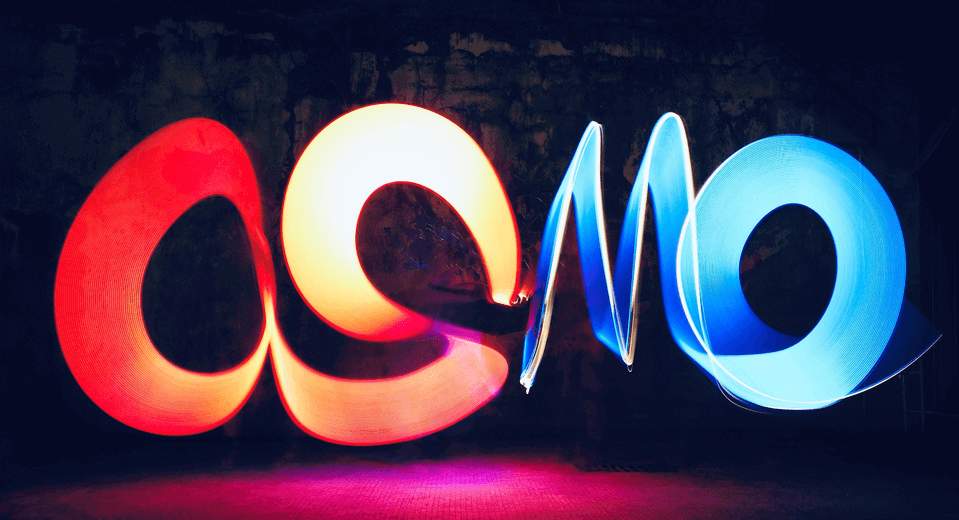
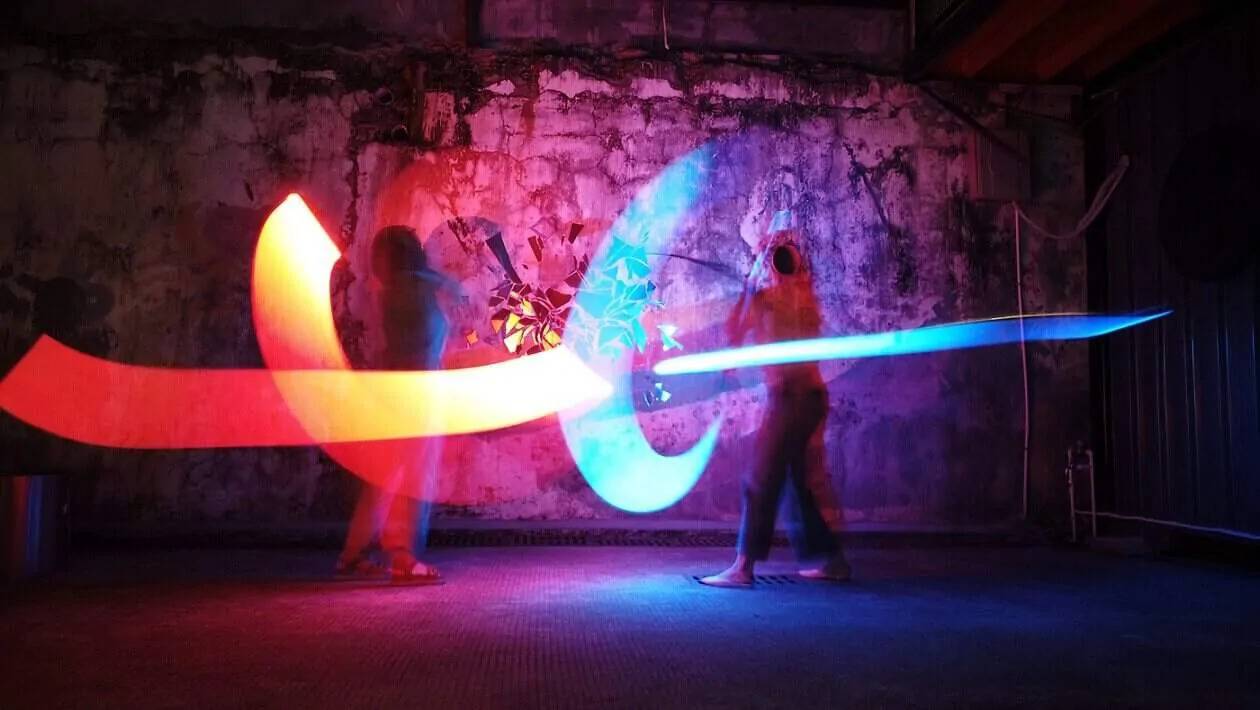
3. Painting with Light
You can use a lightsaber to draw pictures in the air. Keep the design simple to complete your picture as quickly as possible. Note that you should not set the shutter speed too low to avoid overexposed images, especially if your device does not use any ND filters.
Due to the low shutter speed, your light image will be displayed in the picture.
If you don’t use lighter, you can also use the screen of one or more phones to take photos of exposure. You should enter a dark room and install each mobile device, only displaying a different color. Then, move the phone to move according to your will in the dark.
This technique is quite simple but delivers fantastic results. You can add some objects to the image to create many other exciting effects. For example, in the picture below, I used an extra bowl of water.
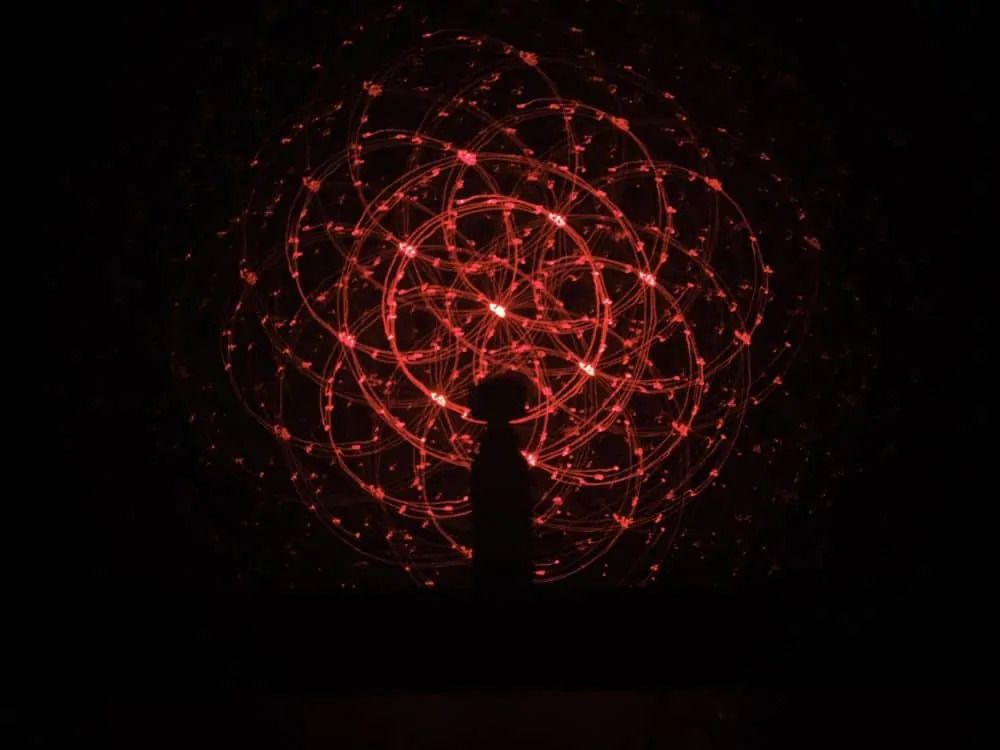
4. Use Laser Light
You need to prepare a laser lamp and go into a dark room. Next, direct the laser beam to the ceiling or a flat wall and change the different lighting patterns.
Take a picture when the laser points change positions, then enjoy the results.
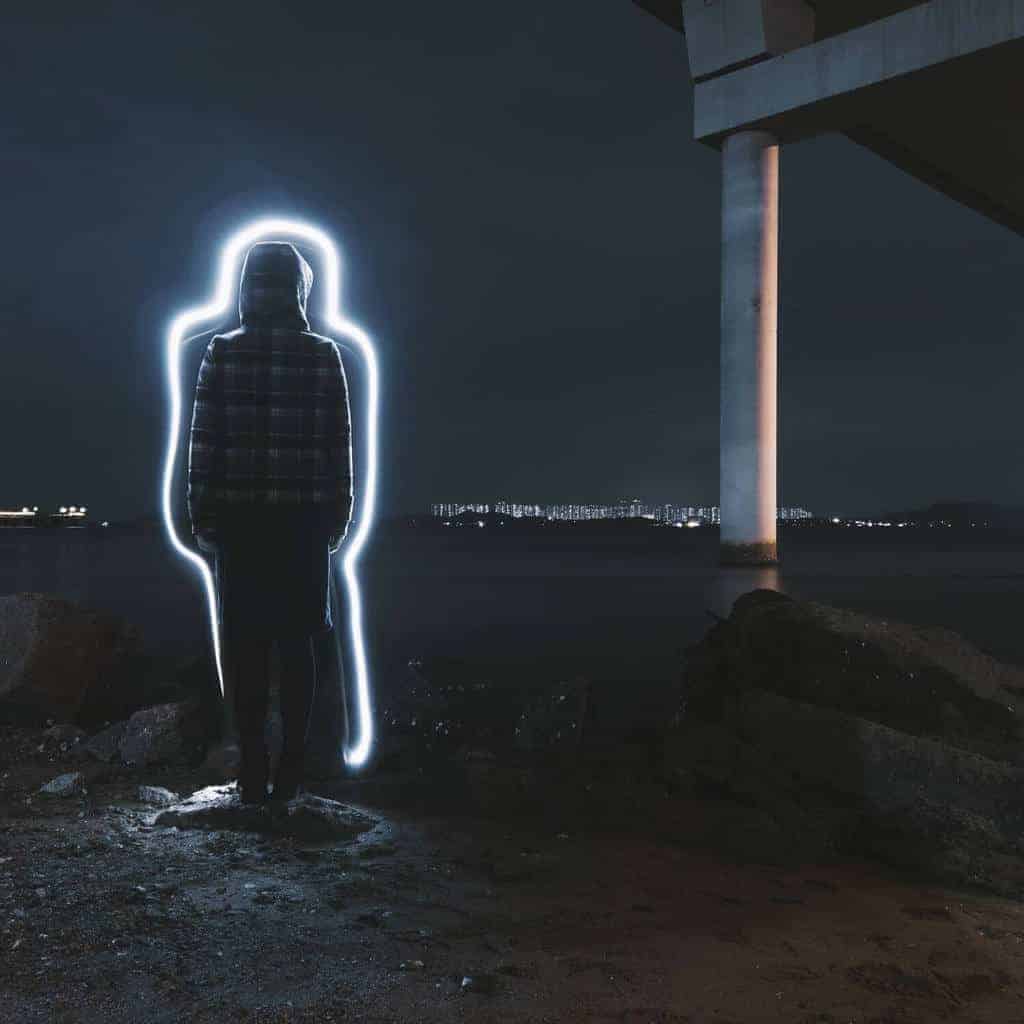
5. Glowing Sketch
Turn on the flashlight on your phone and move it along the outline of the main subject, which can be a person, pet, or anything you want. In this case, I chose the theme of the picture as a friend.
And below are the results:
As you can see, there are many ways to create high exposure pictures is the perfect tool to help you do that.