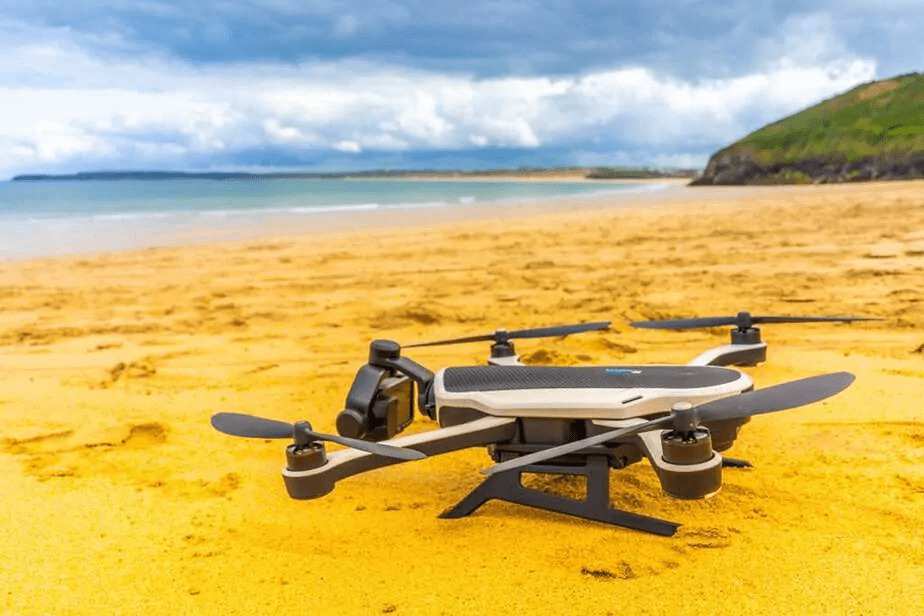
The deliverable to your clients will be a package of aerial video and photos from the flight. This bundle will represent your company, your skill level, and your value. So, it’s essential to deliver a quality product to every customer every time.
You need to standardize your deliverable. This will help you be consistent and efficient in making it after you return from the flight site. My scenic package is for real estate clients. It has a single HD video in .mp4 format. The video is three to four minutes long, with 15–20 ten-second scenes. Scenes merge into one another without interruption. It applies a blur filter, shifting to the bird’s gentle movement. Hardly ever are the UAV and camera stationary with a static scene with nothing going on within the frame. Your movie cannot be boring even if what you are shooting is.
Aerial Video Storytelling
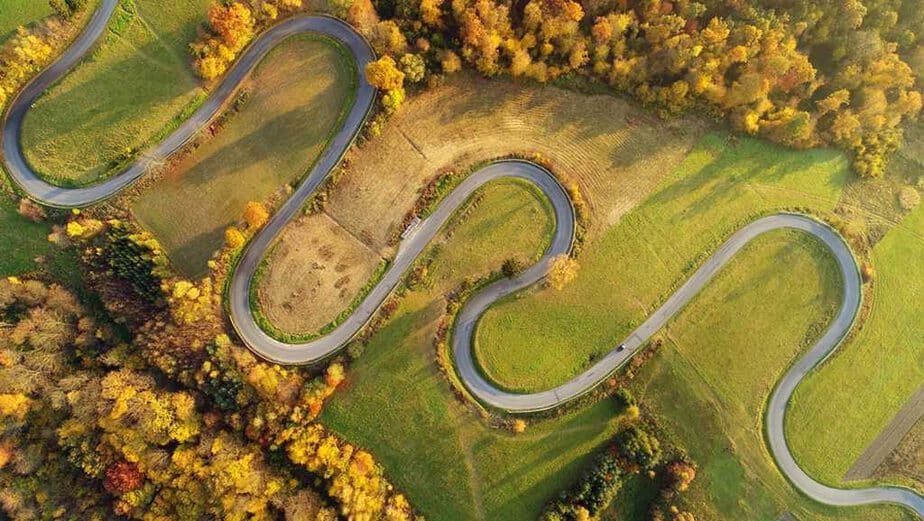
Right after landing a location shoot, check it out on Google Earth. This helps you visualize how to tell its story through your video. Look at the entries and exits to and from the road. See what a first-time visitor would experience and highlight those views from the air. Note both the positives and the negatives of the site. When shooting a real estate project, plan to highlight its features. These include ponds, lakes, ridges, and hills. Also, show all types of wildlife, both domestic and free-roaming.
Avoid large power line towers and petroleum pipelines. Also, avoid burn piles and trash heaps. Also, avoid large discarded items, like junk cars and dilapidated barns. The realtor has to disclose the existence of those eyesores, but you don’t need to showcase them.
The site is larger and has more infrastructure. So, you need to compile a structured flow to your video. The opening scene is at a higher altitude. It shows the property from the road. You move through the gate, and the ground gets lower. Circumnavigate the interior of the house. Show the property boundaries by flying sideways outside the external fence line. Point the camera inside the target area.
Show the positive aspects in order of importance. Save the main residence for the final scenes. Each scene should use a different move. First, a sweep, then a scan, then a rise, then a turn, then a step, and so on. Try to get a 45-degree view from the east, west, north, and south. Then, mix in some overheads with the camera pitch at a 90-degree, straight down angle. Finish with the main house. It’s the last thing you see as you reverse away and up from it. The camera rises to 200 feet and fades out. It’s now 1,000 feet from the starting position.
Blend Music and Video
Your music can be an important component of your video. Know the client. That way, you won’t have a hard rock song playing for a long-time country music fan’s aerial of his family’s ranch. One option is to ask the customer what flavor of background melody he or she would prefer. Another option is to buy some calm songs from Pond5.com. The songs have a laid-back and relaxing vibe. Whatever song you choose, make sure it is long enough to span the complete video. What you don’t want is to have to repeat the same tune or have two different melodies. I only buy songs that are four to six minutes long. I can always end them by fading the soundtrack at the end of the video.
Video Titles and End Credits
Use the “Insert Text” function in PowerDirector. Use it to add a title to your video with at least the year, if not the full date and time. Something like “It’s The Smith Estate—Fall 2015” will work. Unveil the title in stages, then erase it without interruption. Avoid too many text inserts in the middle of your video, since that can be distracting with too many things to read.
That said, some clients may want pop-up captions. They would explain the property’s features, like acreage and building specs. As the last scene fades out. Insert your credits. Show your FAA 333 Exemption number or your UAV license. Also, show your website and phone number. Viewers watch the aerial video and are impressed. They provide you with free advertising.
Still Aerial Photographs
During the flight, you should’ve taken high-resolution shots between the video scenes. If needed, fix those large images. Create a folder called “High-Resolution Aerial Photos”. I aim to collect at least 20 separate images of each property. Or, use the free VLC player program and take dozens of snapshots while playing the video you created. Look under Tools/Preferences/Video/Video Snapshots. Create a folder called “Photos from Video.” Then, play the full aerial video. Take snapshots by clicking the small camera icon on the lower left every five seconds. The images are lower resolution than those shot from the Phantom. But, they are still clear enough for screensavers, social media, and picture frames. While watching the aerial video, you may be surprised at how many photos you can create. But, your rate of photo creation will usually depend on the richness and action in the scene. Watch out for photos taken during the blurry transition of the scenes since that will look odd.
The Deliverables
Make sure you’ve already bought a bundle of cheap 32GB USB drives. You’ll put your work on them for clients. My client USBs contain the HD aerial mp4 video. They also have two photo folders. One is “High-Resolution Photos” and the other is “Photos from Video.” I then put the USB drive into an envelope with the paper invoice. I do this so I can get paid as soon as they see the video and are smiling.
Another way to distribute your aerial deliverables is to upload them to Dropbox.com. Then, email the client a link. This helps when a client has a tight deadline. Or, when in-person meetings are hard. I prefer a face-to-face meeting to show the final product. I also host the aerial videos on YouTube.com and Vimeo.com for two reasons. First, I can email video links to clients. Then, they can share their new video with friends and family, which is great advertising for me. Second, I use those videos in my marketing. I do this unless the client asks to keep them off the Internet. In those cases, I explain that Google Earth has images of their land on the web. So, why not at least make it look good? They usually agree to let me share it after I explain it like that.
The Aerial Presentation
Offer the finished aerial product to your client in a face-to-face meeting. It must work right the first time. If you hand a client a USB drive and say, “Have at it,” something may go wrong with playing the video. The client could plug that drive into an old Windows XP computer. Malware and inferior graphics impede its operation. The client has old hardware and bad software. I don’t want my video to freeze, jump, and look bad.
I am a 35-year IT veteran. I see computer problems all the time. So, I want to make sure the client doesn’t think my video is bad when it’s his or her bad computer. This can be touchy. So, I take either my laptop or, sometimes, a full 40-inch flat-screen LED TV for the presentation. I guarantee precision with my hardware, ensuring perfect aerial visuals and sound.
The first impression is everything; I want no technical difficulty to ruin that for my client. I will only plug in the USB drive after he or she has seen the great aerial video and photos. Then, I will replay it to see how it works. I invested personal time to configure clients’ devices for smooth video playback. Sometimes I’ll have clients play it only on the new 60-inch Samsung LED TV hanging on the wall rather than a PC. I explain to them that the larger the screen, the better the aerial looks.
Your Deliverable: Your Responsibility
Once you land the drone, the job doesn’t end. As a commercial drone pilot, you sell photos and You are also an editor, composer, and a product presenter. Put in the effort to package and deliver a high-quality product. It includes HD videos for production and a stunning array of aerial photos for your client. Also, be ready to deliver them in a first-impression mode. Your unique talent and ability amaze the client in this way.
Large Print, High-Resolution Aerial Photos
You will offer two main things as a commercial drone pilot: HD videos and high-res photos. They will be in digital format. Another option for income is to sell large, high-resolution aerial photos. You can print them on 36 x 24-inch or larger photo paper at a local print shop, Walmart, or even at home.
Framed Aerial Photo. You can print a huge color aerial photo. Then, you can mount and frame it. This can be profitable. It can also help you advertise your service and product. Handing your client a USB drive with 100 photos is great. It’s he or she will like it. But, also give them a framed, three-by-two-foot aerial rendition of their ranch. They can hang it on the wall at home that night. It leaves them in awe.
When suggesting a sale, pick the right image. Choose a high-resolution aerial photo. It should have a clear picture, good lighting, and perfect angle. From there, you will be taking the risk of the client not liking your rogue choice, but it’s worth the chance. Or, you can have it printed on a large photo printer. Then, you can have it mounted and framed for very little money.
Present the finished product and negotiate a fair price for your work. I choose the best image of the aerial project and put it on a USB drive. I then take it to Walmart. They have a photography department with a large printer. I put it into the self-serve photo machine.
A few hours later, I grab the $25 photo from a bag. I take it to my office to mount it on a same-sized foam board. After that, it sits for a day. I put the photo in a $20 black plastic frame from Walmart.
The key technique is to mount the photo onto self-adhesive foam board. Don’t press it against cardboard or use spray adhesive. This prevents an air-bubbling problem weeks or even months down the line.
We prefer mounting without adhesive, although this adds to the expense. Remove clear plastic or cheap glass from the frame. Let the matte photo show to avoid glare. My total investment when I do this is less than $50, and it takes about half an hour of effort. I then offer the ready-to-go photo for at least $100.
Clients buy more framed photos at least 80% of the time. And that’s good. For an upgrade, you can take it to your local Hobby Lobby or similar store. They will dry mount the photo. There, you can pick out a nicer frame for the client. Make sure you increase the price to cover your costs.